Guide
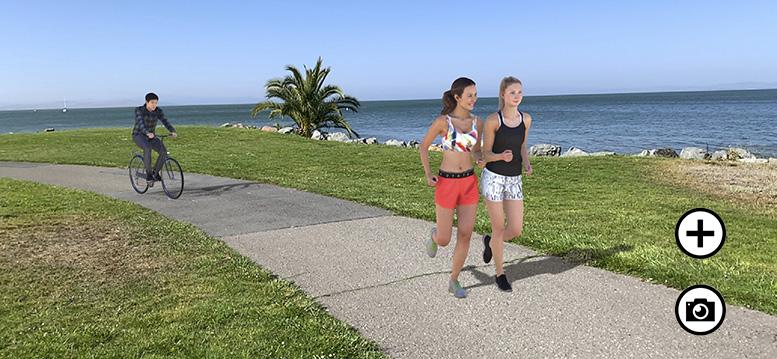
It's FAST, INTUITIVE, and EASY to use. The PPP AR-P app is free to use for anyone that wants to preview and photograph what a location would look like with people placed through out.
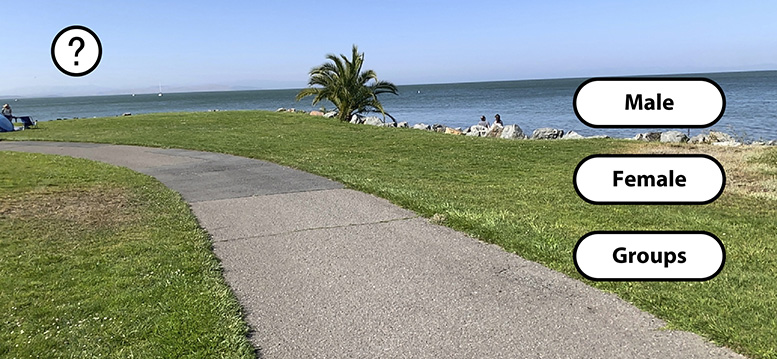
Choose from 47 different 3D rendered models (17 Male, 20 Female, and 10 Groups) in different age ranges and ethnicities - Maximum of 4 3D models per scene.
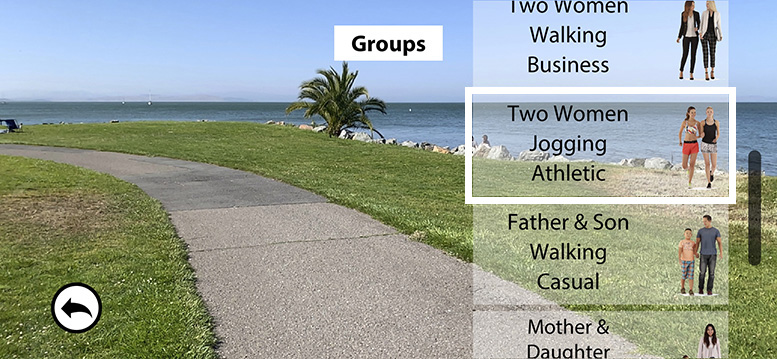
After selecting from the 3 categories (Male, Female, Groups), slide your finger up and down to scroll through the thumbnail list of models in that category and select the 1st 3D model to add to your scene.
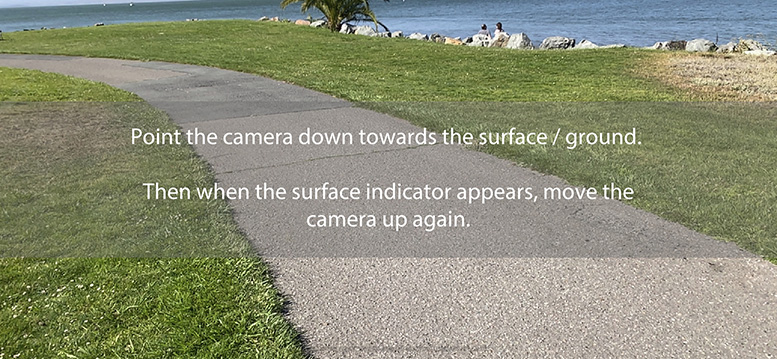
Point the camera down towards the surface and walk around the area to "scan" the area where you want to place the models.
The app might have trouble finding the surface at night or if the location is dark.
*The app will only recognize a surface that is less than 3 meters from the iPhone/iPad. So, if you want to shoot a "Top Down" angle of the location, aquire the surface by walking around and scanning where you want to place the models and set the surface. Then, with the app open and the models placed on the surface, walk around to your top down perspective and set up the shot.
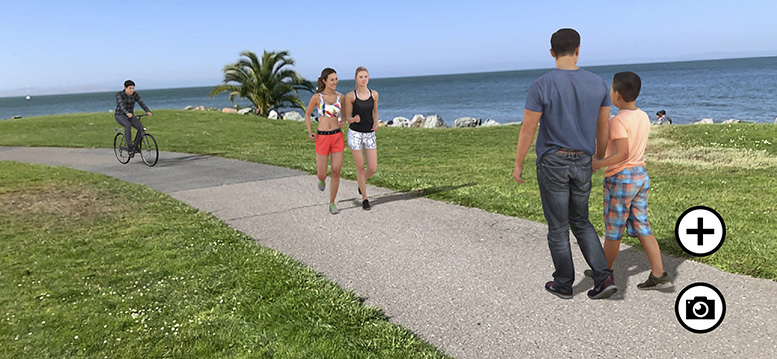
The 3D model then is "lifted" off the surface and by pointing the camera you position the model in your scene.
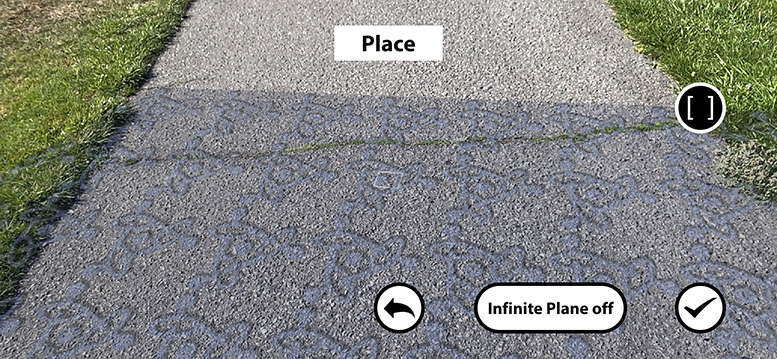
Touch on the "Check" button to attach the 3D Model back onto the surface in it's new position.
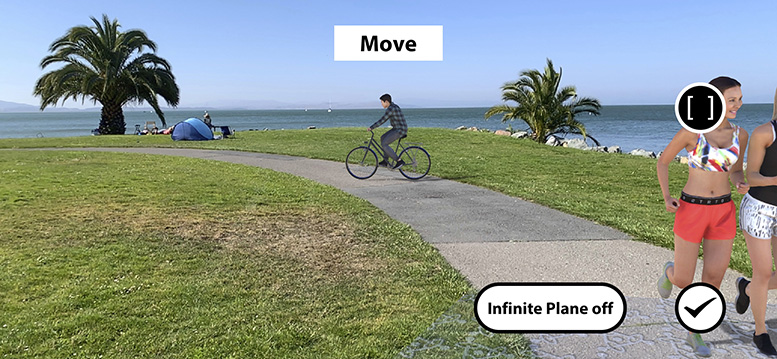
The "infinite plane" button is set to "off" by default, this limits the area where the models can be placed to only the section of the surface that you "scanned". You can extend the surface to an "infinite" surface area by changing the "infinite plane" button to "on".
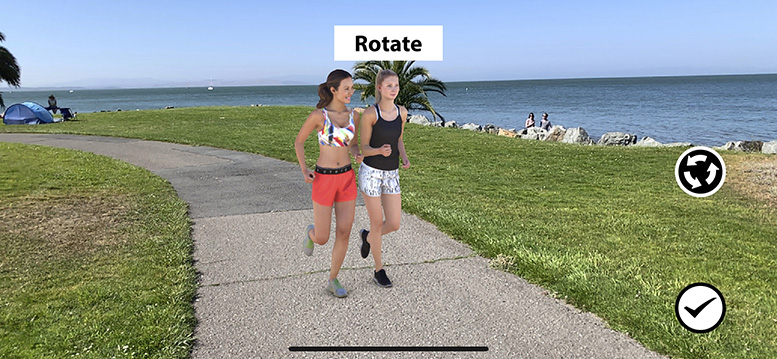
Once in the "Rotate" mode, drag one finger across the device's screen to spin the 3D model into the correct angle.
Touch on the "Check" button to set the model's position.
Then tip the camera up and down to release the model from the surface and point the camera to position the model in the new position.
Touch on the "Check" button to set the model back onto the surface.
And tap on the "Check" button again to leave the edit model mode.
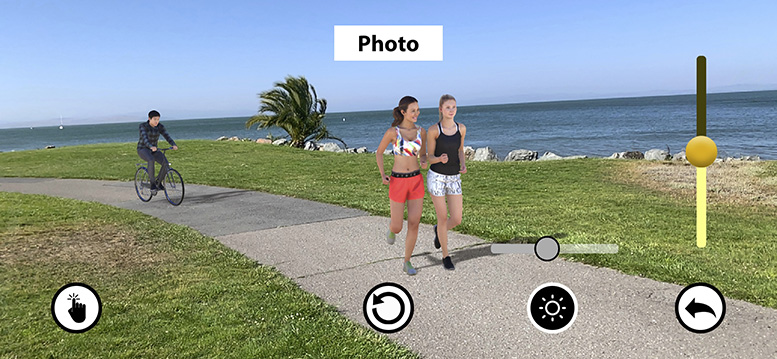
The yellow slider on the right side of the screen lightens or darkens all of the 3D models in the scene.
The "Finger" button is how you take a picture that's saved to your camera roll (the buttons on the screen are not included in the photograph that's saved).
The button at the bottom right on the screen (arrow points to the left) is the "Back" button to take you back to the model controls.
And the button in the center of the screen (circular arrow) is how you re-set the app to start the process all over to create a new scene with new models .
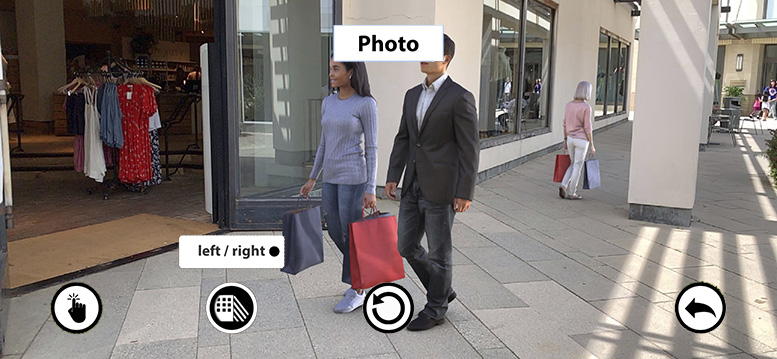
Choose Right or Left to turn on the Back Light on the corresponding side of the models.
The Back Light is positioned outside of the scene, at a 3/4 back light angle, and only shines on the 3D models.
This will take you back to the opening screen with the buttons for the 3 categories of models (Male, Female, and Groups).
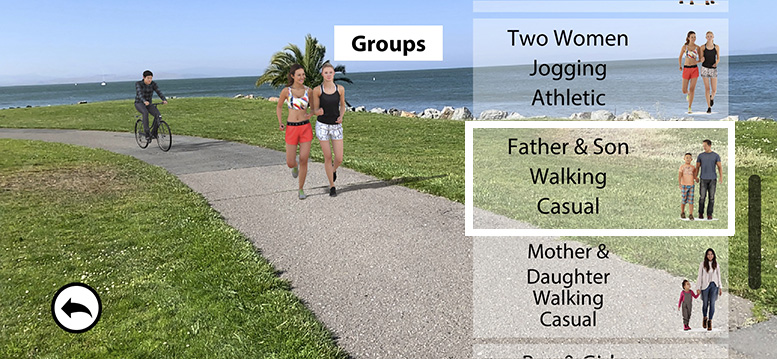
Slide your finger up and down to scroll through the thumbnail list of models in that category and select the next 3D model to add to your scene.
Tips
If you have left the edit model mode, you can DOUBLE TAP any model in the scene to "activate" it and edit it's position and rotation, or remove it from the scene.
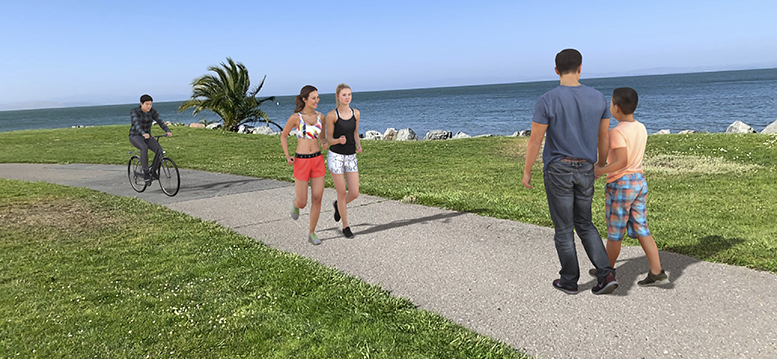
The shadow length is automatically calculated by the app using the internet to obtain the GPS coordinates of the nearest Cell Tower.
So if you are in "Airplane Mode" on your device there will be no shadows displayed when in the "Sun Light" mode in the app.
And since there would be no shadows at night, the "Sun Light" mode won't display any shadows after the sun goes down at your location.

© 2023 Planet PrePro