
CUSTOM MODELS
Download
Custom Models
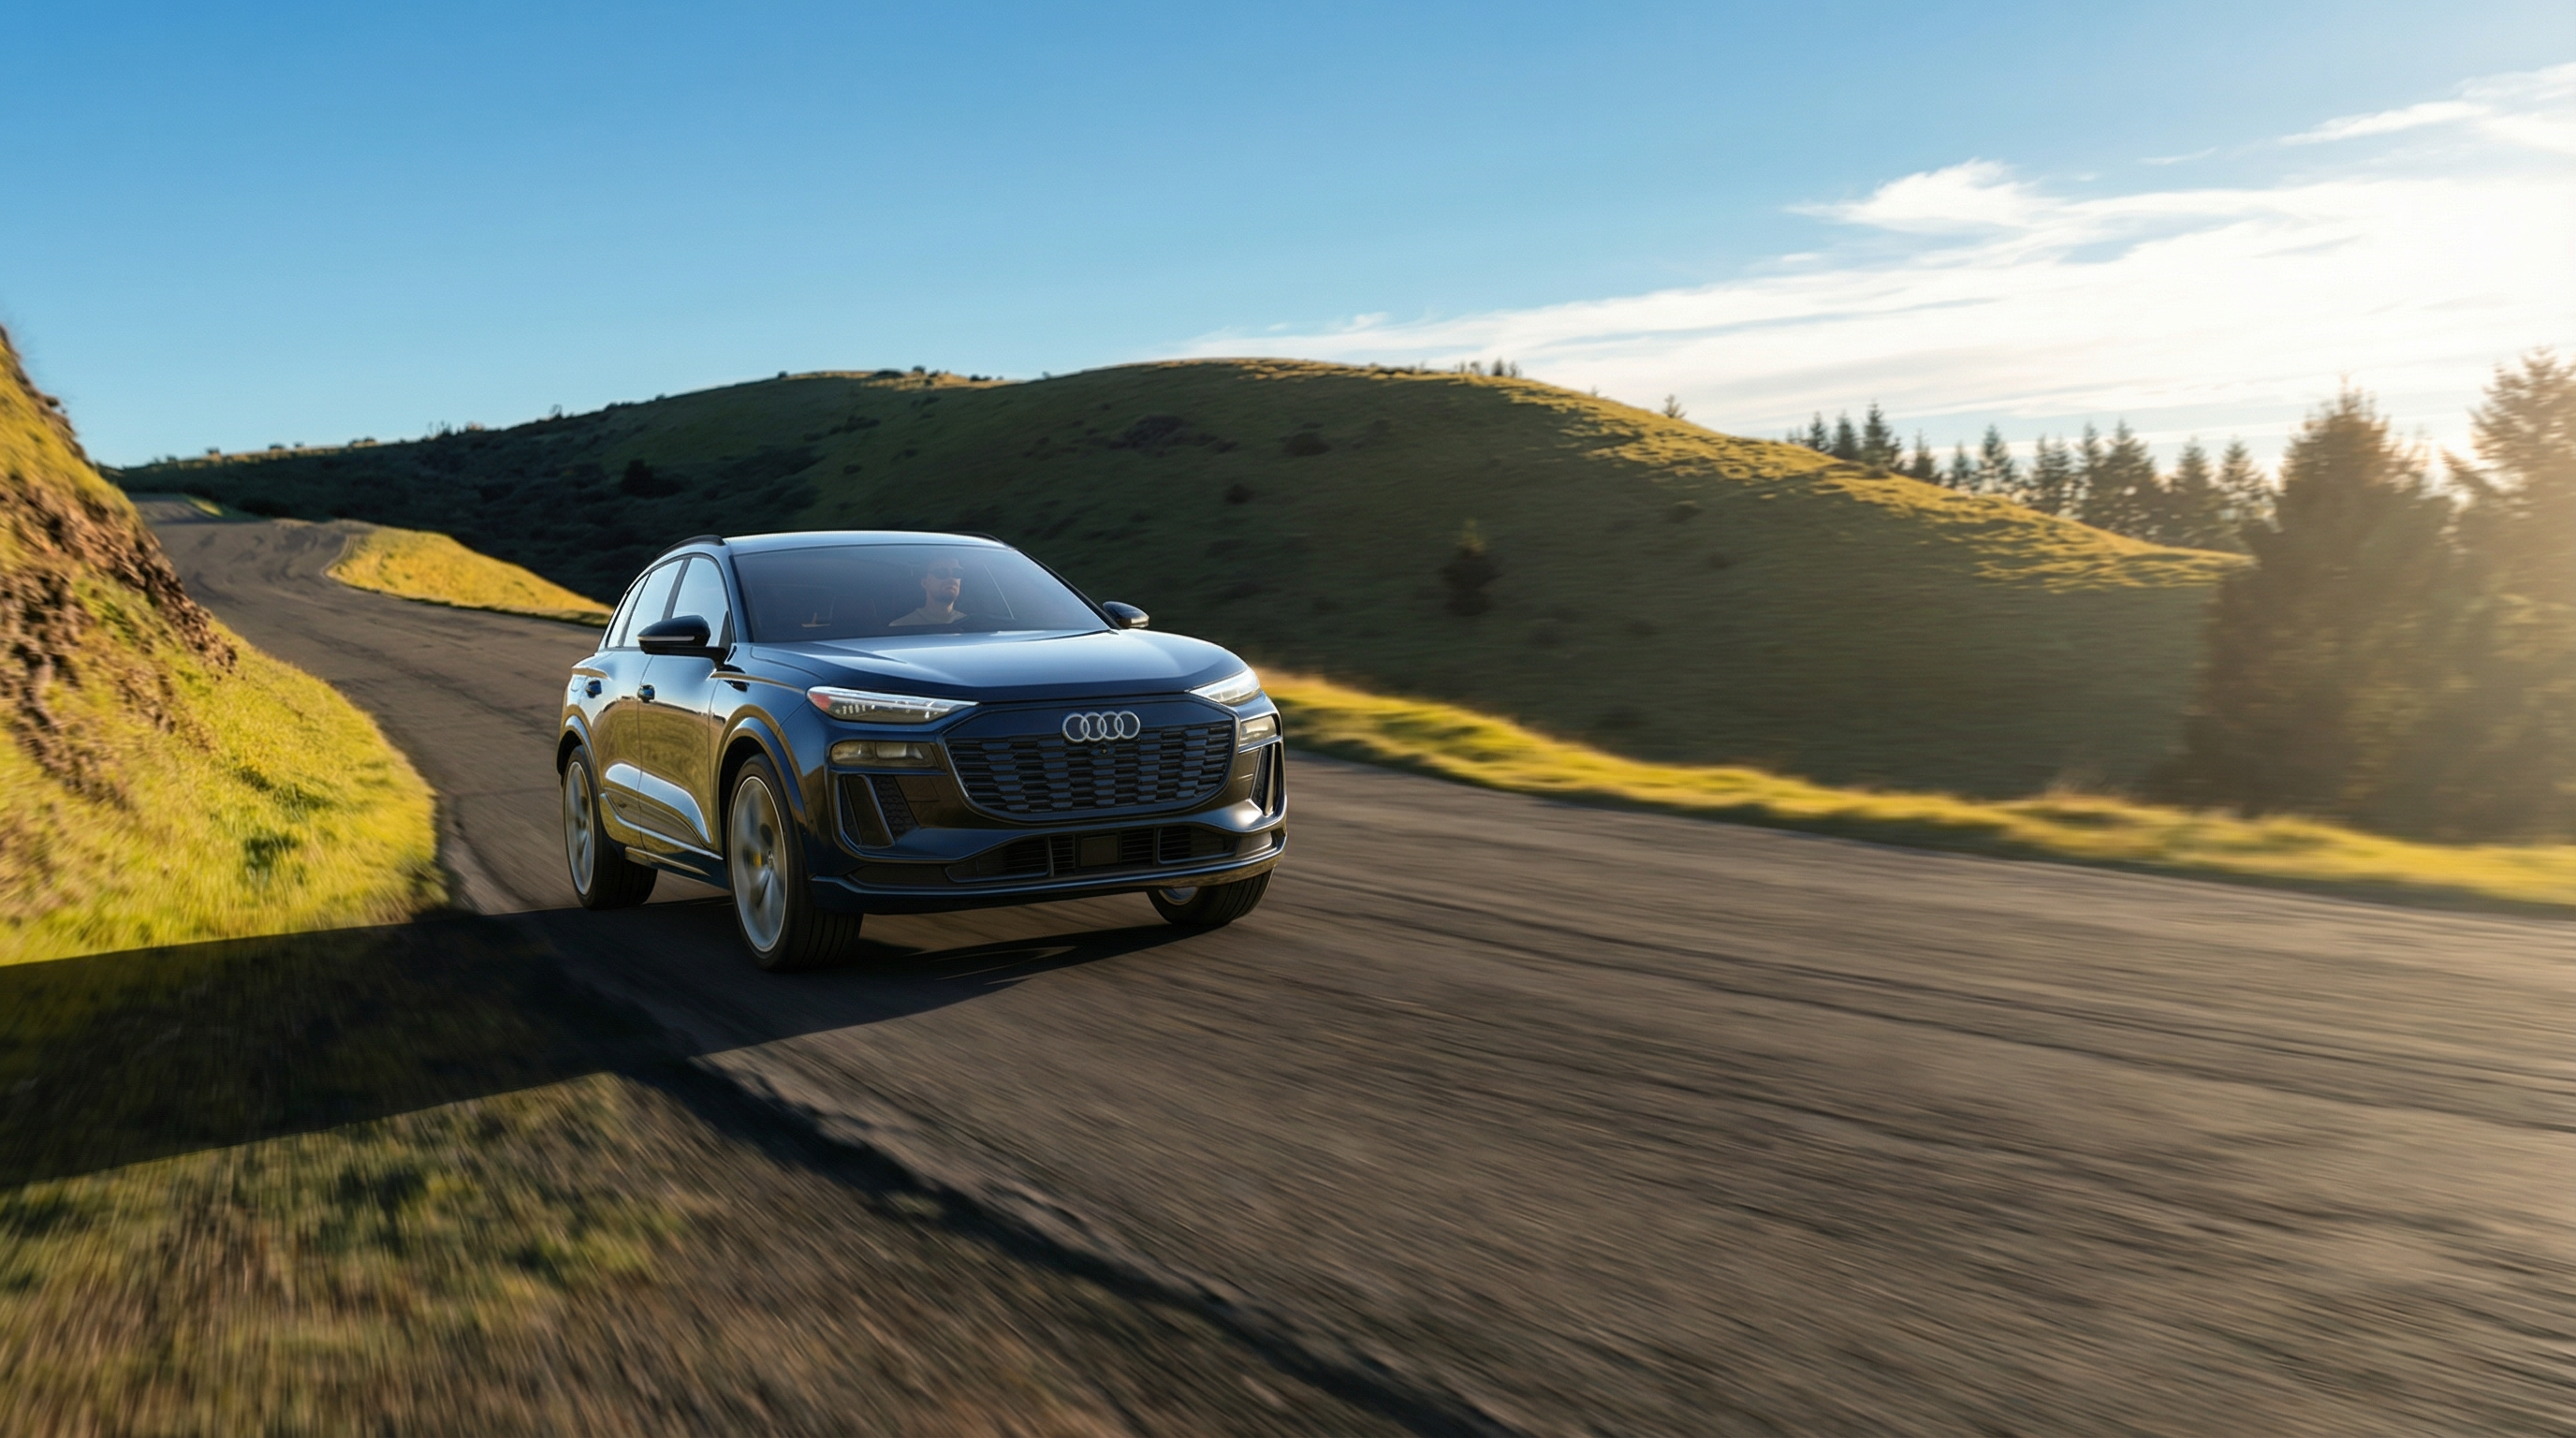
Your Model, Your Photographer, and Our App — Empowering you to create authentic imagery of your brand on location. Bring your brand to life with custom 3D Augmented Reality models, and localize your social media content for a global audience. The PPP AR+ app safeguards custom models in the download section with a unique download code, which is managed by the client. This ensures the models remain protected and inaccessible to unauthorized users.


Feed your Social Media Beast
No Permits, No Traffic Control, No Vehicle Transportation, No Location Disruption Fees, Use Inaccessible Locations, All Locations are Secure.
Brands
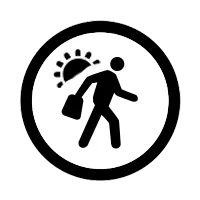
Take your Brand out into the wild and localize your Social Media Content.
SpokesPersons
Create localized content of your Celebrity/SpokesPerson with out the associated costs of flying around the world.
Pharmaceutical
Capture Social Media content of patients interacting with real-world environments, all without the physical strain.
(click on the video below to learn how to use the app with custom downloaded models)
App Buttons
Information
Click on a icon in the list below for an explanation of that button's function.

Back
Check
Plus
Infnite Plane
Ambient Shadow
Ligting on the model
White Slider
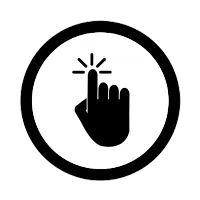
Place
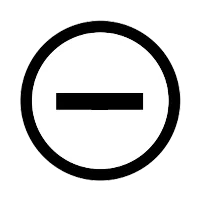
Minus

Camera
3/4 Black light
Take a picture
Social media guide
Orange Slider

Help
Gray Slider

Re-set