Guide to our original AR Vehicle app
In realtime you can scout locations with generic versions of 10 different vehicle models in 11 different colors.
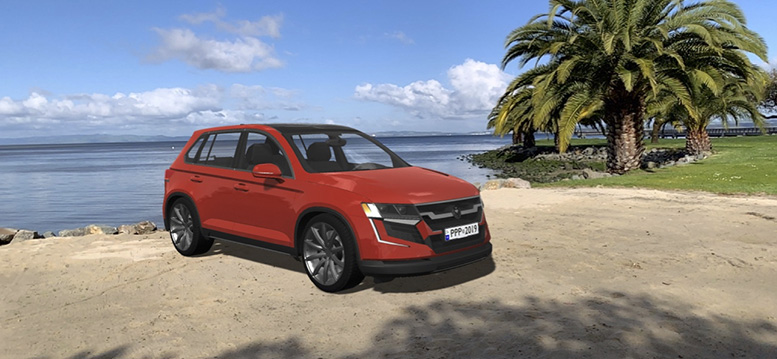
It's FAST, INTUITIVE, and EASY to use. The PPP AR app is free to use for anyone that wants to preview and photograph what a vehicle would look like on location - Even where you can't put a vehicle
while location scouting.
Place a vehicle, move it closer and farther from the camera postion, rotate it 360 degrees to the desired angle, and move the camera left, right, up and down
to get the perfect shot.
When you start the app, once it initializes, it will display a scrolling list of vehicles.
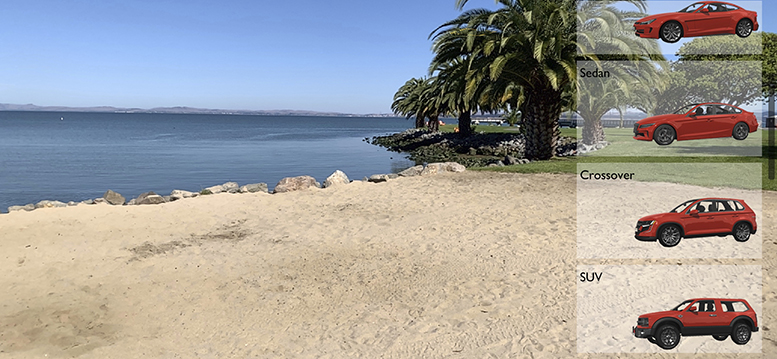
Slide your finger up and down on the list of 10 different generic vehicle models and then touch on the vehicle you want to place into your scene.
Compact, Hatchback, Coupe, Sedan, Crossover, SUV, Truck, Van, Sport Bike (with and without rider), and Muscle Bike (with and without rider).
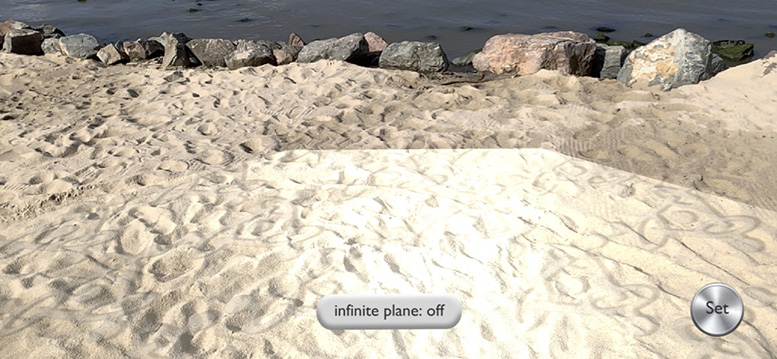
Point the iPhone's camera down at the ground and walk around the area to "Paint" the ground where the vehicle will be placed on the location and touch the "Set" button.
The default vehicle (Crossover) in the default color (silver) will be dropped on the "painted" surface. Walk back to the desired camera position and start
to choose your options.
When the apps starts acquiring the surface, the "infinite plane" button is set to "off" by default. This limits the area where the vehicle can be placed to just the section of the surface that you "painted".
You can extend the surface to an "infinite" surface area by changing the "infinite plane" button to "on".
The app might have trouble finding the surface at night or if the location is dark.
*The app will only recognize a surface that is less than 3 meters from the iPhone. So, if you want to shoot a "Top Down" angle of the location, aquire the surface by walking around and scanning where you want to place the vehicle and set the surface.
Then, with the app open and the vehicle set on the surface, walk around to your top down perspective and set up the shot.
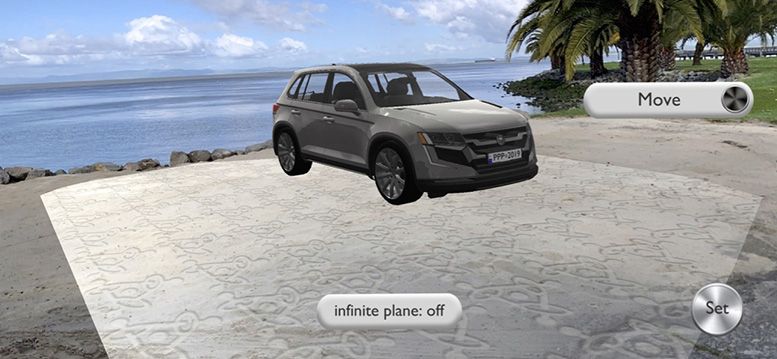
To move the vehicle closer or farther from the camera, or left or right in the scene, start by choosing the "Move" button and then tip the camera down and then up to activate the move function.
The vehicle then is "lifted" off the surface and by pointing the camera you position the vehicle in your scene.
Touch on the "Set" button to attach the vehicle back onto the surface in it's new position.
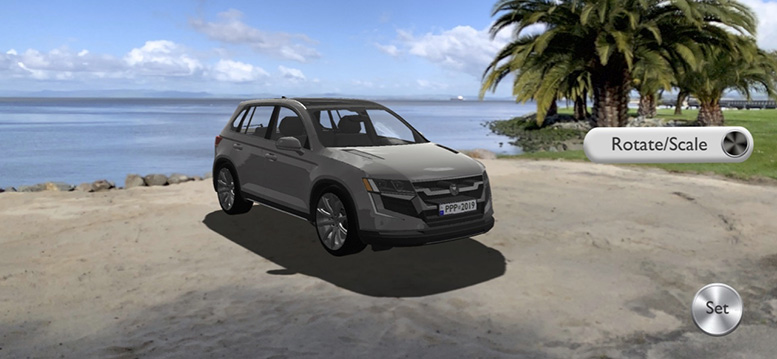
After moving the vehicle into the desired position, touch on "Rotate/Scale" to rotate the vehicle on a central axis.
Once in the "Rotate/Scale" mode, drag one finger across the iPhone's screen to spin the vehicle into the correct angle.
*Scale - The vehicle is dropped onto the location at a 1:1 scale and should be the correct size in relation to the location.
We've locked the scale option of the 3d vehicles so you can't scale the vehicle larger than 1:1, but you can scale the vehicle down in size if if you are testing the app and don't have a large space for the test.
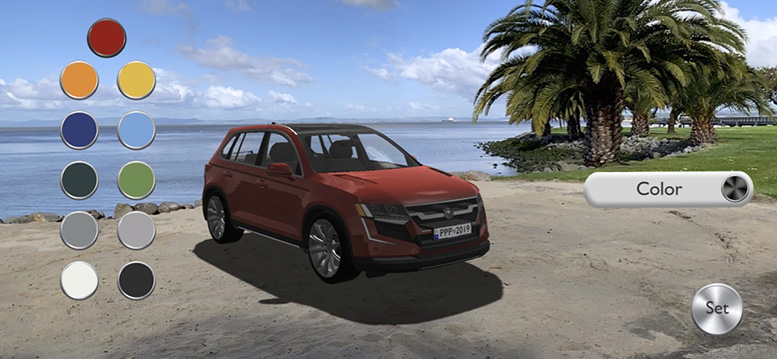
Touch on the "Color" button on the right side to display the 11 different color options.
When you touch on a color button on the left side of the screen, the vehicle color will change and the color button will have a black ring (changes from a silver ring) to indicate the color chosen.
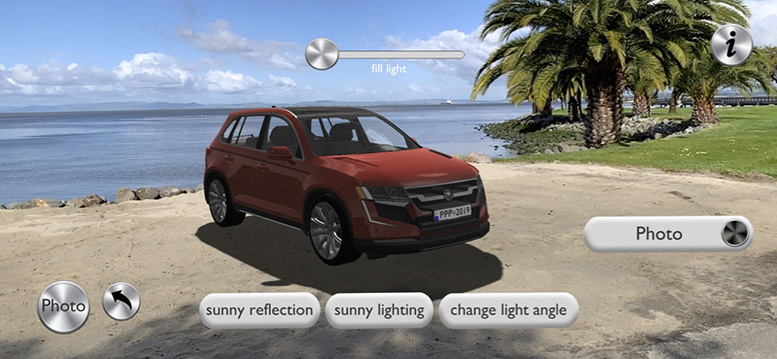
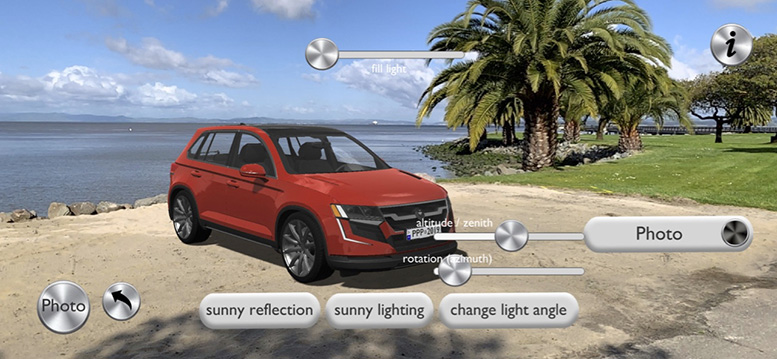
The "Photo" mode has the most options.
You can choose the type of reflections that are on the vehicle surface (Sunny, Cloudy, or "Real"), the type of lighting (Sunny A or B and Cloudy A or B), the Azimuth and Angle of the "Sun" on the vehicle, and you can even add a fill light.
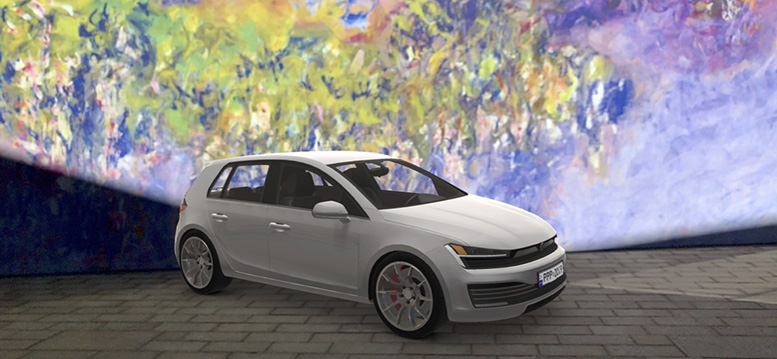
*"Real" reflections are limited based on the power of the smart phone and will often shift the color of the vehicle based on the surrounding environment.
The Sunny reflection is a pre-set, clear sunny day sky. This gives the vehicle the most shiny, glossy paint feeling. Sometimes the Sunny reflection gives the vehicle the best look in different environmental conditions.
The Cloudy reflections are also pre-set reflections.
(see below for descriptions of the different Sunnys and Cloudy reflections)
*"Real" reflections are limited based on the power of the smart phone.
Choose between "Sunny Lighting" or "Cloudy Lighting" for the 3d vehicles.
When you choose "Sunny Lighting" the "Altitude Zenith" and "Rotation Azimuth" sliders appear. You can touch on the Lighting button again to hide these sliders. If you choose the "Cloudy Lighting" the sliders don't appear.
The "Altitude Zenith" slider controls the length of the shadows and "Rotation Azimuth" controls the direction of the "sun" on the vehicles.
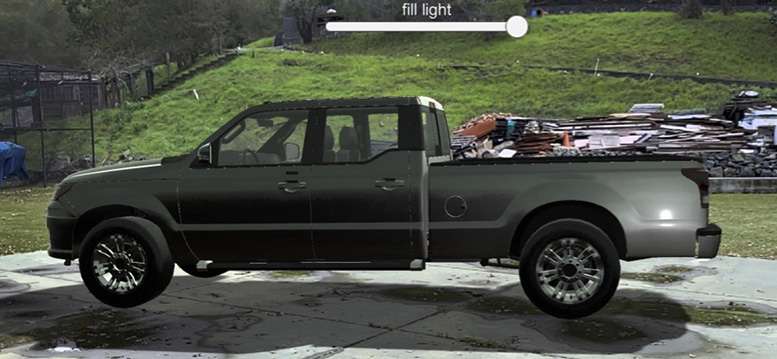
There is also a "Fill Light" slider at the top of the screen in the "Photo Mode". Moving the slider to the right adds a *Fill Light to the part of the vehicle that's directly infront of the camera.
*When adding the Fill Light to your scene, be careful to watch for reflections from the light in the side of the vehicle. The fill light isn't bright enough to effect the 3d vehicles that are farther from the camera.
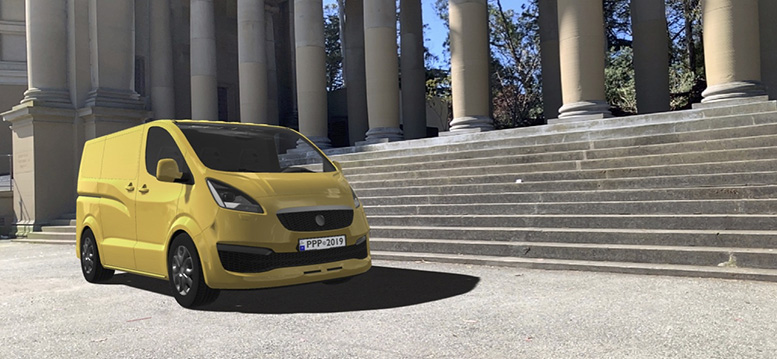
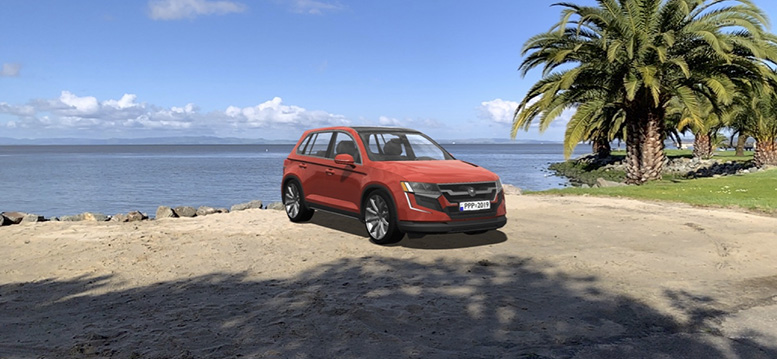
"Sunny A" creates a shadow from a bright clear day with strong lighting on the vehicle.
"Sunny B" has the same shadow from the vehicle, but the shadow is not as dark as "Sunny A". The shadow replicates a "filtered" sun light effect, as if there was a thin high band of clouds filtering the sunlight.
"Cloudy A" replicates an overcast day with a sky full of clouds. The clouds will reflect in the vehicle paint and the side light on the vehicle has some contrast.
"Cloudy B" replicates an "open shade" environment and reduces the contrast between the highlights on the vehicle and the side body panels.
Tips
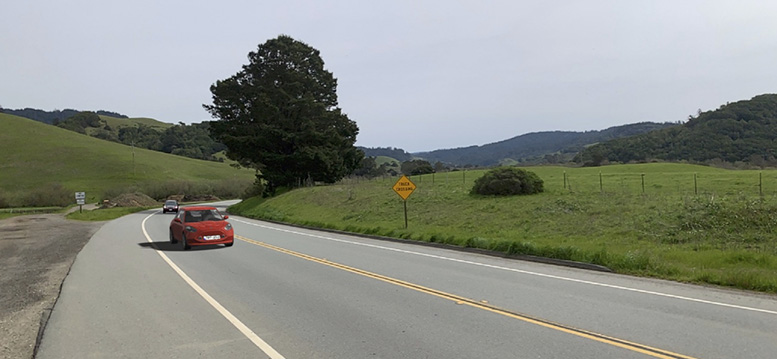
"Paint" the road near camera position to establish the surface, then choose "Infinite Plane" to extend it.
This allows you to place the vehicle back in the frame away from camera position without having to scan the road all the way back to the vehicle position.
There is also a "Fill Light" slider at the top of the screen in the "Photo Mode". Moving the slider to the right adds a Fill Light to the vehicle that is positioned next the camera.
When using the "Fill Light" slider, be aware that it might show up in the reflection of the vehicle, depending on the angle.
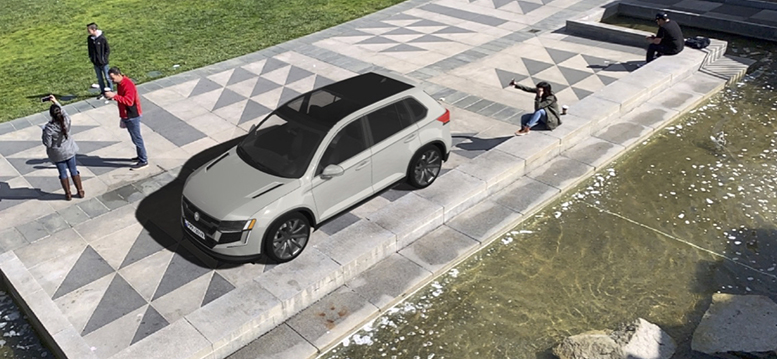
To achieve a "Top Down" or High Angle at your location, start off by scanning the surface where you want to place the vehicle and drop the vehicle into place.
* Do not activate the "Infinite Plane" mode, this will cause the vehicle to move it's position when you get to the "Top Down" camera postion.
After dropping the vehicle into place and adjusting it so to the correct postion, keep the app open and walk up to the "Top Down" camera postion to shoot your image. Once up at the camera postion you can move the vehicle and rotate it if necessary.

© 2023 Planet PrePro